- Thread starter
- #181
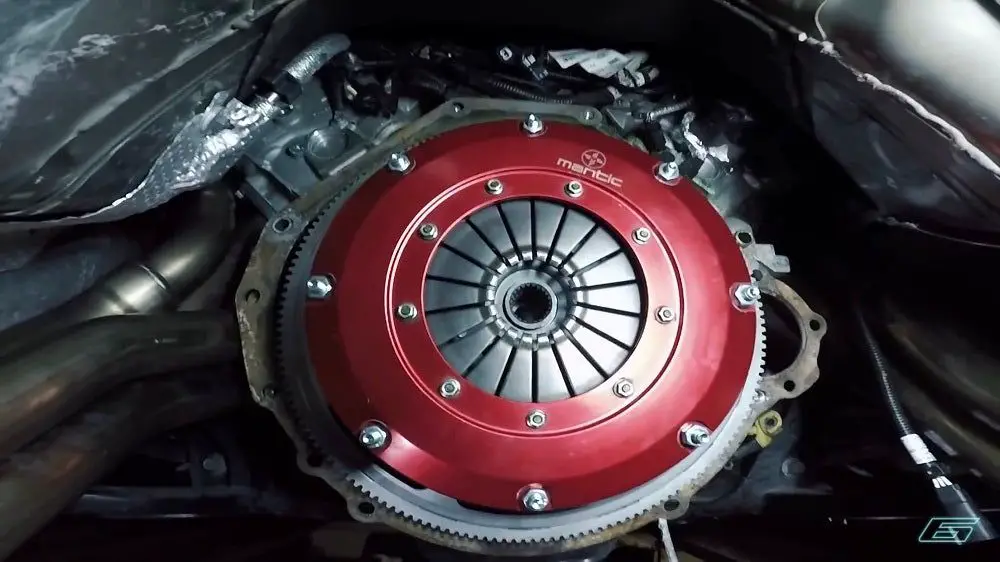
That is where I ended up with mine as well. Did you end up using the round pins or was that with the offsets? I used brake cleaner on a blue shop paper towel to wipe down all surfaces of mine included the cerametallic disk. It should be okay on the organic material, just don't soak it. I would spray it on a paper towel or clean rag and give it a quick wipe down. It evaporates fast enough where it can't really soak in.